THOR AV - Ridge LED Wall Panel

RIDGE LED PANELS

TRUE ASPECT RATIO LED WALLS

Ridge Series LED Wall Panel

RIDGE LED WALL PANELS

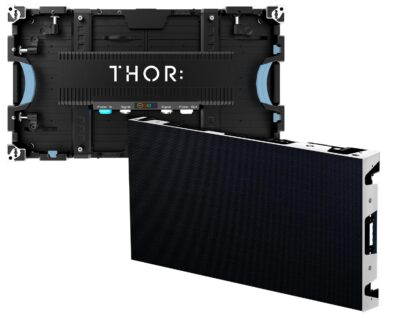
RIDGE LED wall panels offers outstanding performance with flexible install options. RIDGE can be installed in ground stack, flown, or wall mounted configurations.

  • 1.8mm, 2.5mm, and 3.7mm pixel pitches
  • Brompton and NovaStar processing options
  • Easy servicing from front or back
  • Best-in-class on-camera performance
  • Easily visible in all levels of ambient light
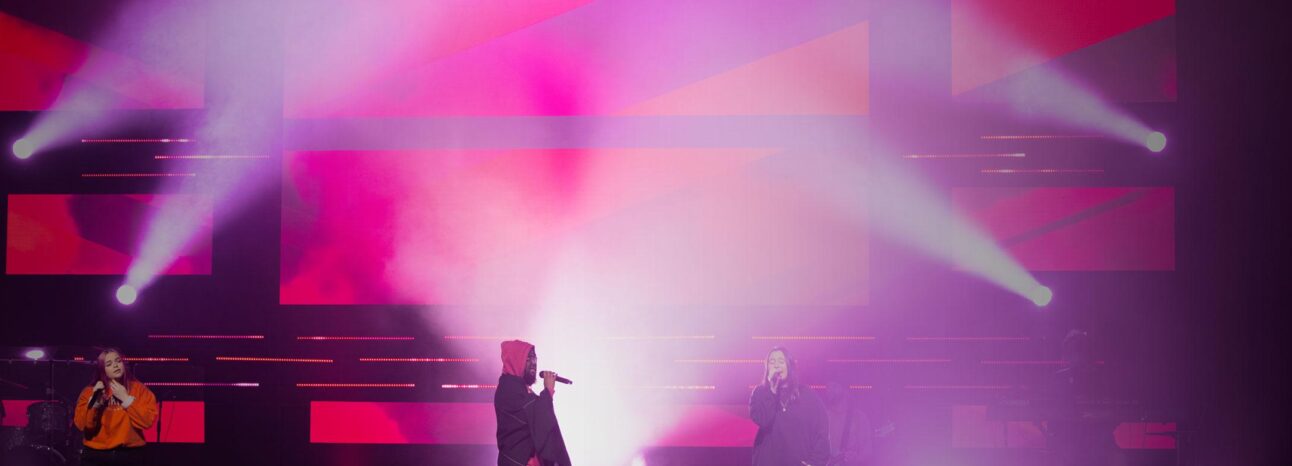
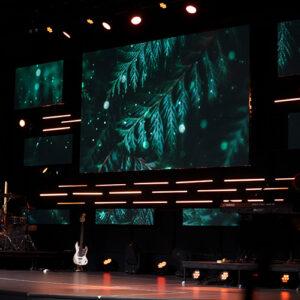
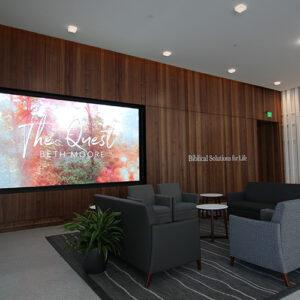
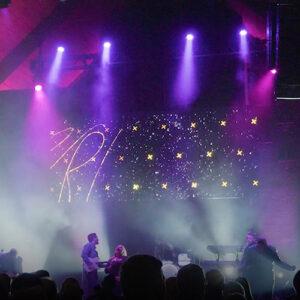
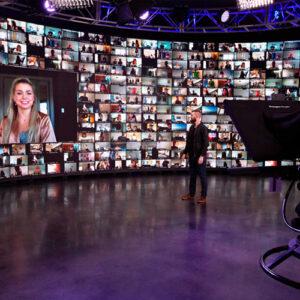
  • Ideal for churches, stages, corporate board rooms and lobbies, and VR/XR studio production.
Ridge Series LED Wall Panel

RIDGE 1.8

1.8 PIXEL PITCH

DIGITAL SIGNAGE

A fine pixel pitch with vibrant color depth is ideal for digital signage in corporate, retail, and restaurant installations.

STUDIO PRODUCTION
Outstanding color management and exceptional on-camera performance for studio, VR and VX production.

RIDGE 2.5

2.5 PIXEL PITCH

LIVE EVENTS
Perfectly suited for live events, IMAG, and conferences, especially for True Aspect Ratio content.

STUDIO PRODUCTION
The color and on-camera performance ensures creative content appears on the LED wall exactly as is intended.

RIDGE 3.7

3.7 PIXEL PITCH

LIVE EVENTS
Bring live performances, videos, stage backdrops and lyric/presentation displays to life with vivid color.

IMAG
True Aspect Ratio and outstanding on-camera performance are ideal for IMAG (Image Magnification) applications.

HOUSES OF WORSHIP

KIOSK
& SIGNAGE

FIXED INSTALLATIONS

VIRTUAL PRODUCTION

IDEAL MARKETS

HOUSES OF WORSHIP

KIOSK & SIGNAGE

FIXED INSTALLATIONS

VIRTUAL PRODUCTION

RIDGE LED PANEL SPECIFICATIONS

1.8 2.5 3.7
Pixel Pitch 1.8mm 2.5mm 3.7mm
Receiving Card* Brompton R2 (RIDGE 1.8) Brompton R2 (RIDGE 2.5)
Novastar A5s Series (RIDGE 2.5i)
Brompton R2 (RIDGE 3.7)
Novastar A5s Series (RIDGE 3.7i)
Calibrated Brightness 1175 nits 1200 nits 1250 nits
Brightness Control 1175 steps 1200 steps (RIDGE 2.5)
256 steps (RIDGE 2.5i)
1250 steps(RIDGE 3.7)
256 steps(RIDGE 3.7i)
Closest Viewer 7 FT / 2.1M 10 FT / 3M 18 FT / 5M
Pixel Configuration per Panel 320 x 180
57,600 pixels
240 x 135
32,400 pixels
160 x 90
14,400 pixels
Viewing Angle 140° x 140°
LED Module SMD 1010 gold wire SMD 2121 gold wire SMD 2121 gold wire
Driving IC Module MBI IC Drivers with S-PWM
Serviceability Front / Rear
Panel Dimensions 600mm x 337.5mm x 58mm
(23.62″ x 13.29″ x 2.29″)
Hardware Options Fly, Ground Stack, Wall Mount
Driving Method 1/15 scan
Gray Scale 16 bit
Refresh Rate 3,840+ Hz
Module Configuration 2 x 1
Chassis – Straight Standard
Operating Temperature -30° to 50° C
Operating Humidity Up to 90%
Power Input 120/240 Volt at 50/60 Hz
Power Consumption 150W max 50W avg 120W max 40W avg 120W max 40W avg
BTU/hr 437 max 137 avg
Electrical Circuits 1x 20A 120V circuit per 24 panels
Flown Maximum Rigging Height 8M (26.25′)
Ground Stacked Maximum Height 5M (16.4′)
Chassis Material Die Cast Aluminum
Weight 8.5 kg (18.6 lbs)
IP Rating IP31
Certifications FCC, ETL, EMC, UL
LED Life Span 100,000+ hours
Limited Warranty 2 years

*The specifications are for reference, actual values may vary.

RIDGE LED PANEL SPECIFICATIONS

1.8 2.5 3.7
Pixel Pitch 1.8mm 2.5mm 3.7mm
Receiving Card* Brompton R2 (RIDGE 1.8) Brompton R2 (RIDGE 2.5)
Novastar A5s Series (RIDGE 2.5i)
Brompton R2 (RIDGE 3.7)
Novastar A5s Series (RIDGE 3.7i)
Calibrated Brightness 1175 nits 1200 nits 1250 nits
Brightness Control 1175 steps 1200 steps (RIDGE 2.5)
256 steps (RIDGE 2.5i)
1250 steps(RIDGE 3.7)
256 steps(RIDGE 3.7i)
Closest Viewer 7 FT / 2.1M 10 FT / 3M 18 FT / 5M
Pixel Configuration per Panel 320 x 180
57,600 pixels
240 x 135
32,400 pixels
160 x 90
14,400 pixels
Viewing Angle 140° x 140°
LED Module SMD 1010 gold wire SMD 2121 gold wire SMD 2121 gold wire
Driving IC Module MBI IC Drivers with S-PWM
Serviceability Front / Rear
Panel Dimensions 600mm x 337.5mm x 58mm
(23.62″ x 13.29″ x 2.29″)
Hardware Options Fly, Ground Stack, Wall Mount
Driving Method 1/15 scan
Gray Scale 16 bit
Refresh Rate 3,840+ Hz
Module Configuration 2 x 1
Chassis – Straight Standard
Operating Temperature -30° to 50° C
Operating Humidity Up to 90%
Power Input 120/240 Volt at 50/60 Hz
Power Consumption 150W max 50W avg 120W max 40W avg 120W max 40W avg
BTU/hr 437 max 137 avg
Electrical Circuits 1x 20A 120V circuit per 24 panels
Flown Maximum Rigging Height 8M (26.25′)
Ground Stacked Maximum Height 5M (16.4′)
Chassis Material Die Cast Aluminum
Weight 8.5 kg (18.6 lbs)
IP Rating IP31
Certifications FCC, ETL, EMC,UL
LED Life Span 100,000+ hours
Limited Warranty 2 years

*The specifications are for reference, actual values may vary.

MORE INFORMATION & DOWNLOADS

SUPPORT

RIDGE LED WALL PANEL DOWNLOADS

FAQS

RIDGE LED WALL PANEL FAQs

What type of LED panel is best for my venue? LED panel selection is based more on the application than the physical venue. The physical venue determines more of the size and where you could install the LED display. View “Why does the distance between pixels matter?” to see more on choosing the right display.
Why does the distance between pixels matter? The closer the pixels are to each other, the closer your viewers can be to the display. Other reasons may include the integration of cameras, the visual perceptions of the audience, and other factors. Talk to your AVL integrator to make a more informed selection.
What is a module? Each panel has several modules. A module consists of pixels, a mask to increase contrast and black levels, and the circuitry to connect to the hub board.
Low vs. high brightness performance? When the LED wall brightness control is turned down, the image is to stay intact. The lower the brightness the less dynamic range you are allowing the panels to perform in. Resulting in the compression of the image. THOR is determined to provide the highest quality displays that excel in low brightness performance.
What’s a nit? Nits are a measurement of light emitted from a source.
Why does the IC driver matter so much? One of the goals of a video display is to provide a fluid and seamless image that removes “distraction” and creates a life-like experience. The IC driver (integrated circuit) has significant influence on this equation for engaging your audience.
What is the purpose of the mask on a module? The mask on the module helps establish black levels throughout, creating more pronounced contrast. It also protects the pixels and decreases the failure rate.
Why is structural engineering important when considering an LED wall? Safety for your audience is paramount and is an essential standard in the construction process. Work with your AVL integrator to set up an appointment with a structural engineer to determine what your structural rigidity and capabilities are for your venue.
What processor do I need? This is directly related to your current gear, video settings, the amount of panels, and the degree of color correction that may be needed when mixing batches of LEDs. Connect with your dealer to discuss further.
Why does the IP rating matter? The IP rating determines the acceptable level of air particles and moisture content that the product is designed to keep out.
Why do certifications matter? UL, FCC, ETL, and EMC certifications are standards that are directly connected to safety, RF interference, and manufacturing standards.
What is the warranty? THOR LED panels have a limited two year warranty.
What type of electrical circuits are needed and how many? 20 amp (110-240v) circuits are required in order to power the panels. Each product line is unique.

TROUBLESHOOTING

RIDGE LED WALL PANEL TROUBLESHOOTING

What if a block of my panels aren’t working right? Try replacing a data cable. Usually between the last panel that is working and the first panel that has stopped working.
How do I flash the receiving card and why? Please contact your dealer for more information and instructional guides.
Is there a reason why power cables connect stage left to right? Yes. Power is not bi-directional.
Are the RIDGE power data boxes “hot swappable”? No. The power data boxes are not hot swapable on RIDGE LED panels.
My display has moiré issues.

Wavy lines! Moiré is an image artifact that appears when two fine patterns overlap at an angle. One of the easiest ways to reduce the moiré effect is to soften its direct focus by focusing on something else, like an individual. Slightly soften the focus on the screen itself to reduce the on-camera moiré effect with LED screens.

Focus points matter when using cameras. Focusing on the LED wall creates moiré no matter what your camera resolution is set to.

Another way is to use shallow depth of field if your subject is in front of the LED screen; the subject will be in focus and the background LED screen will be softly blurred. Image sensors found in digital cameras have their pixels arranged in a very fine pattern; when videoing an LED display, the camera’s fine patterns will not line up with the fine pattern of the LED’s.

Why do I have to reconfigure the LED wall every time I restart the system? When changing settings in NovaStar’s NovaLCT, all software settings need to be “Saved to Hardware”. If this has not happened, the wall will return to the state of the last saved setting. This applies to every setting in the software, including: brightness, color temperature, wire flow, and calibration settings.
How do I remove a module if there are faulty pixels?

Each module on an LED panel has magnets to keep them in the proper position. Use the included module removal tool. Each LED panel series varies.

Edge LED panels — Verify that the module’s safety cable is detached. Carefully insert the removal tool into the top front of the module via the thin slots and then slide the tool upwards to secure. While holding onto the removal tool, place forearm parallel against the module and use a curling motion (think lifting weights in the fitness room) to pull the top of the module toward you. This separates the module and panel chassis magnets. Some force will be needed.